Independent fan guides
Transport Fever 3 Guides, Tips & Transport Strategies
Plan routes, grow towns, and keep a transport company profitable. These pages explain confirmed Transport Fever 3 systems: passenger and cargo lines, railways, city ratings, company rank, and the achievement list.
What you actually manage
Transport Fever 3 puts you in charge of a transport company across more than a century of vehicles. You connect towns and industries by road, rail, sea, and air. Every delivery earns money. Every train, truck, ship, plane, or other vehicle adds cost. The useful skill is not “build everything.” It is choosing a line that pays for the vehicles and the track or road that carry them.
Towns do not grow just because a station exists. The developers describe 18 growth levels, from small hamlets of fewer than 100 people up to metropolises. A town earns experience when passengers travel and when required goods arrive. Passengers who only ride inside the same town, from home to work or shopping, produce less experience than passengers who come from another town or farther away. Goods work in a similar way: a more complex product, one that passes through more industries, is worth more growth experience than a simple bulk good, even when the simple good arrives in larger amounts.
Growth is then limited by how the town feels about your network. Six ratings matter: reputation, satisfaction, delivery, traffic, noise, and pollution. Low values reduce how much of that experience actually counts. The game manual treats town authority as the lowest of those six, so repairing the weakest rating does more than polishing a rating that is already strong. That is why a pretty station in a residential street can stall a city that your cargo line is otherwise feeding well.
Company rank is separate from your bank balance. You start as a junior and rise toward the title of Tycoon by growing the world’s population, not by hoarding cash alone. Higher rank unlocks bonuses: headquarters expansions, landmarks, prospecting for new raw materials, and city marketing. This site explains those systems and the published achievement conditions. It does not sell the game, offer a download, or speak for the developers.
Two decisions that shape the whole map
Where the headquarters goes
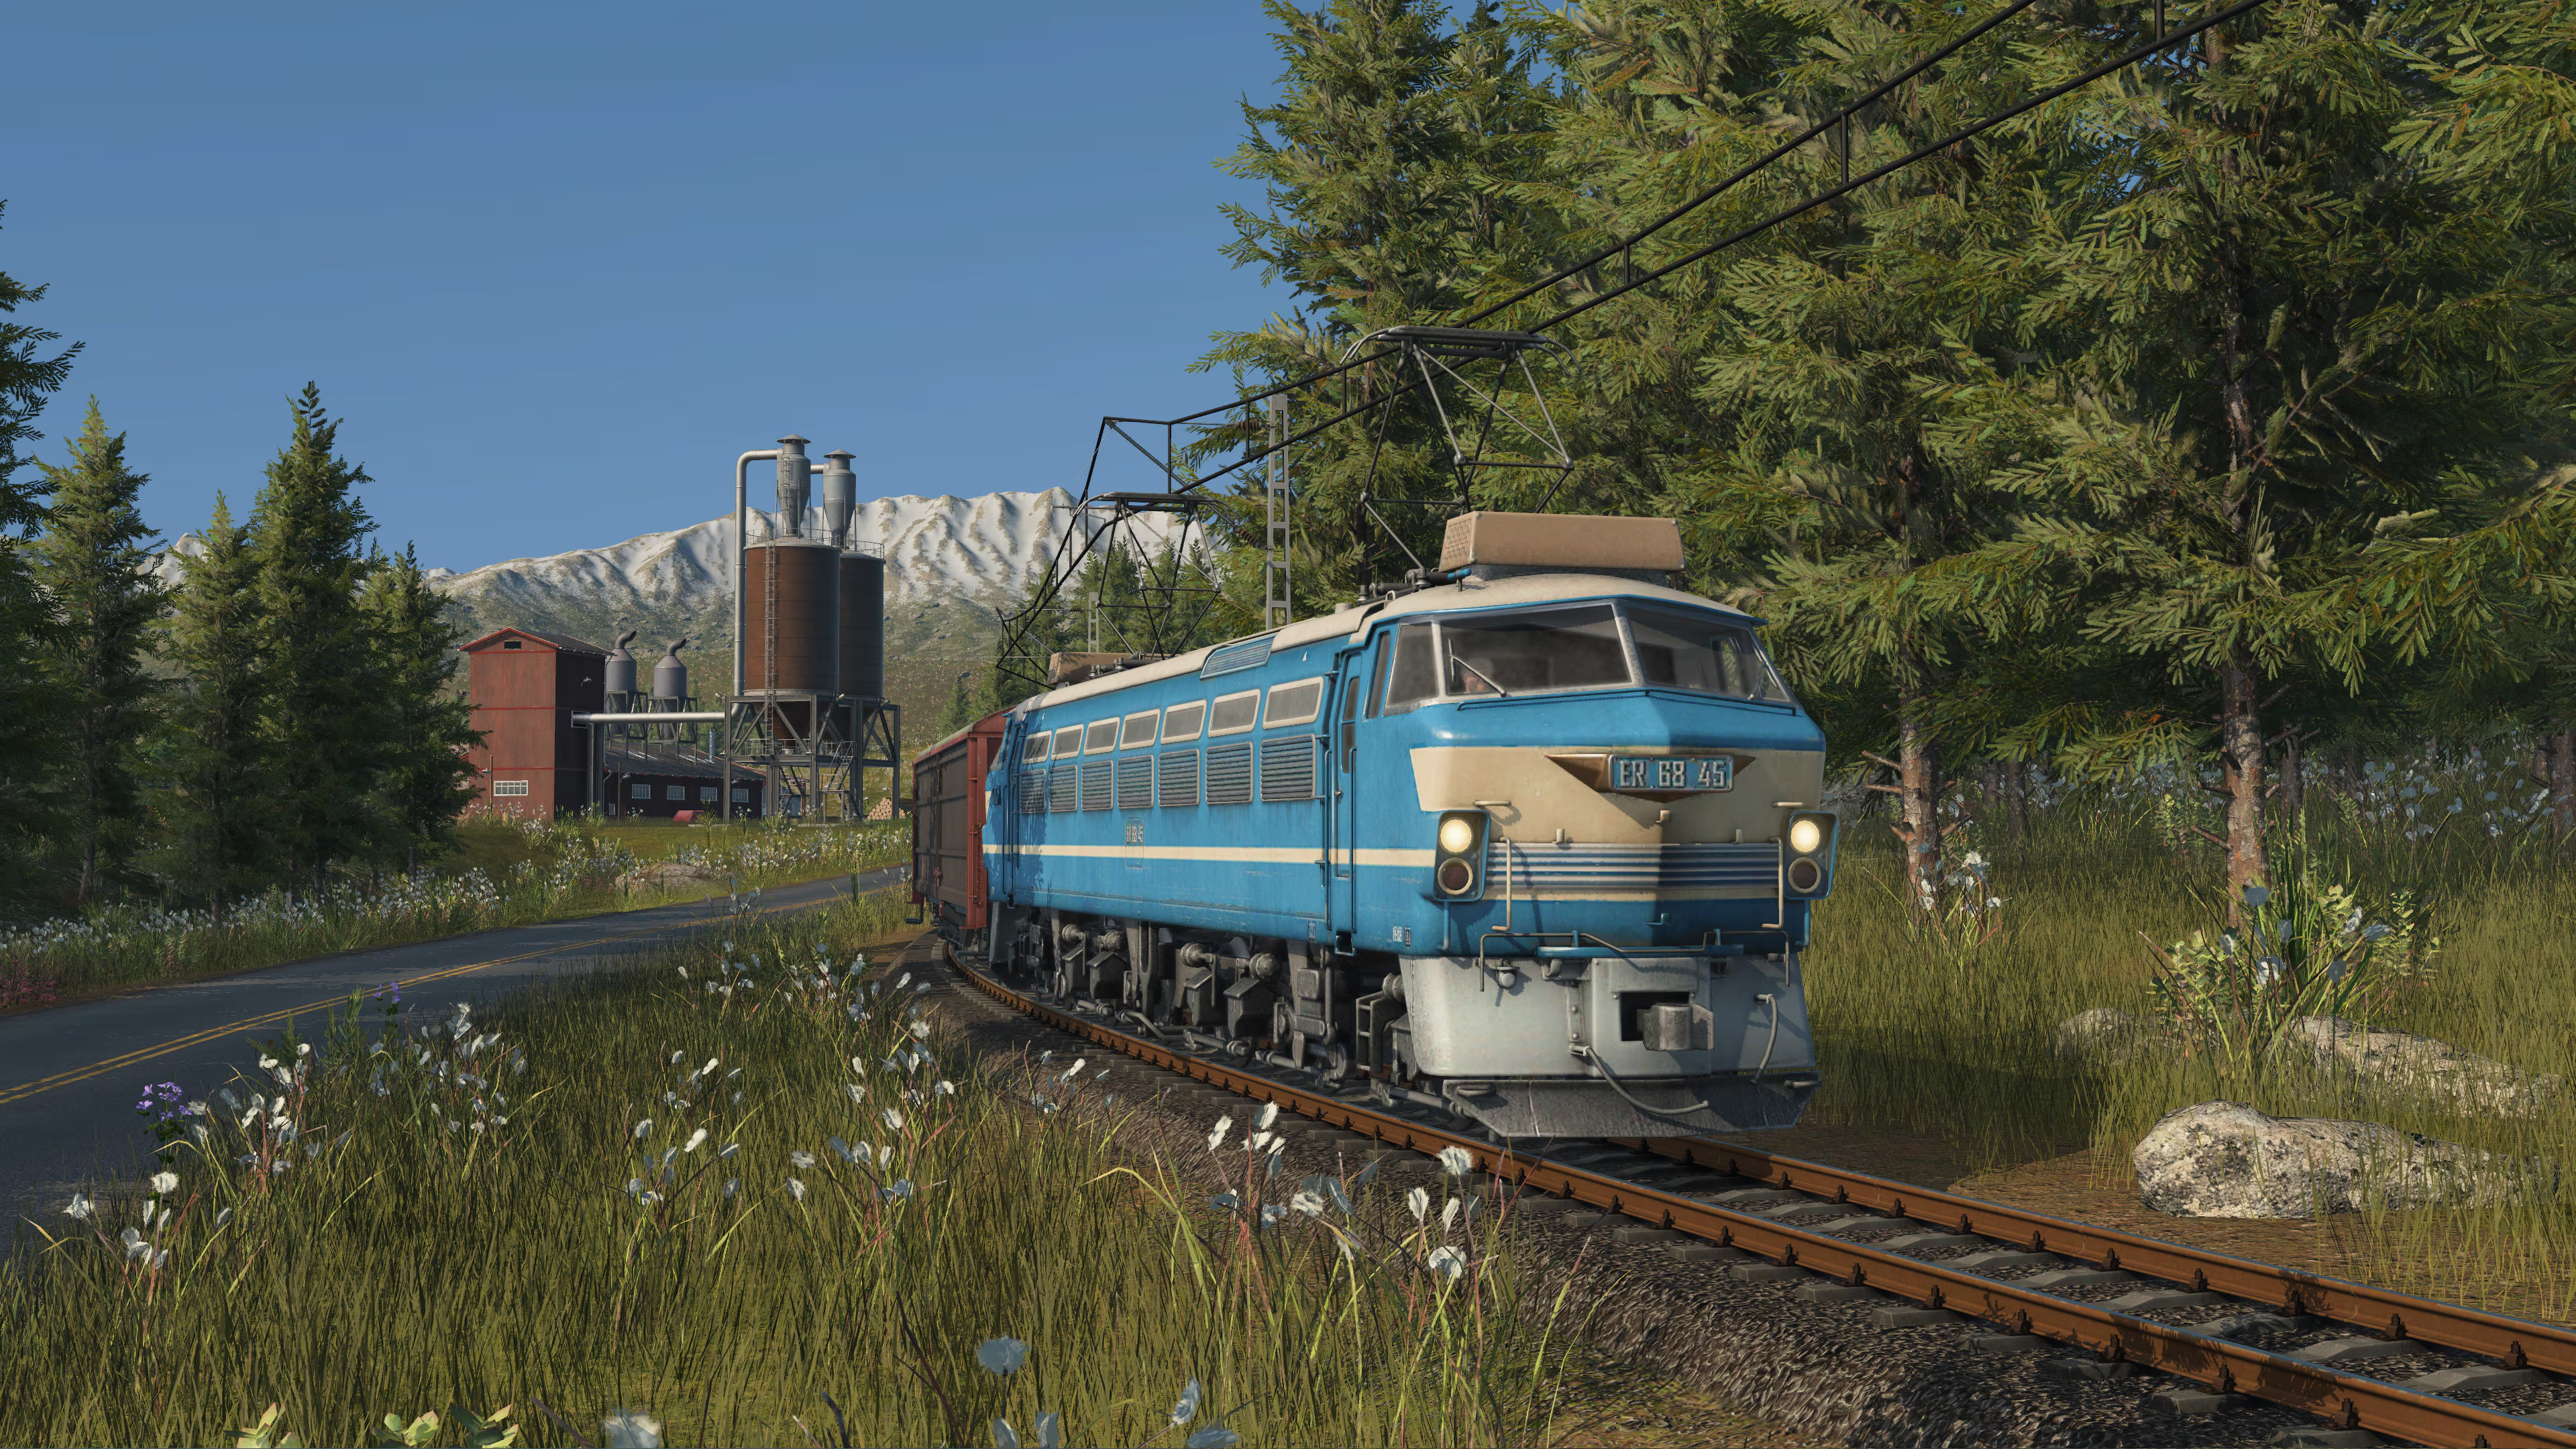
The headquarters gives a growth bonus to the nearest city, and later expansions add more bonuses as your company rank rises. Place it near the town you actually intend to grow. Moving the center of the company later means the early bonus was spent on a place you stopped feeding.
Read transport strategies
What the line is allowed to cost
Food is time-critical. Bulk goods such as stone tolerate a much slower trip. A fast aircraft can be the wrong tool for stone, because the cargo still pays if it is late, while the city’s delivery rating falls and the vehicle’s upkeep continues. Match speed to the deadline, then check whether the line still covers its vehicles.
Read economy tipsBEGINNER GUIDE, RAILWAYS, PASSENGERS, CARGO CHAINS, ROUTE PLANNING, CITY GROWTH, ACHIEVEMENTS, ECONOMY
Plan the network before you pave the map
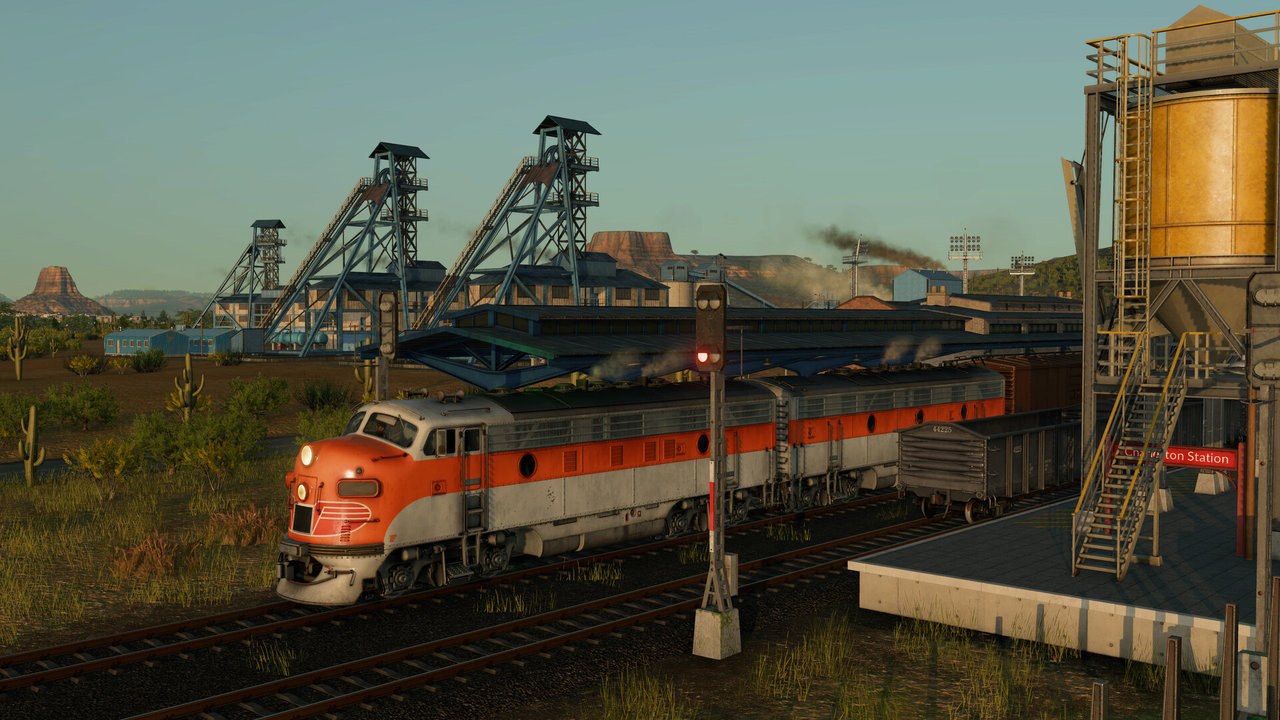
A municipal area covers the city and the land around it. Pollution is counted across that whole area, so a factory “just outside town” still belongs to the town’s score. Noise is the residential problem: a station next to homes is convenient and loud, while a hub on the edge plus quiet buses or trams is calmer and slower, and it adds maintenance. Use the traffic, delivery, noise, and pollution layers before you add a second main line. The planning notes walk through that choice with a worked example.
Open transport planningWhere to read next
Start with the problem in front of you
Each page below is a full guide: how the system works, a practical sequence, an example, the usual mistake, a beginner version, and a later-game version. None of them is a shop, a download, or an official manual.
Passengers and cities
When to run a local line, when an intercity line is worth the extra infrastructure, and how waiting time shows up in satisfaction.
Passenger transportCargo chains
How to feed a town with simple goods first, then add a longer chain when you want the higher growth experience.
Cargo and supply chainsRail and stations
Why rail pays on a corridor with steady volume, and how station placement fights noise without stranding passengers.
Railway guide
First free-game hour
Do these four things before you expand.
- Put the headquarters beside the town you will actually serve.
- Open one passenger link that reaches beyond that town, not only a loop inside it.
- Deliver one cargo the town already asks for, and watch the delivery layer.
- Leave gameplay settings on their standard values if you care about achievements.
Common early mistakes
A line that pays can still stop the town
Income and growth are related, and they are not the same score. Late cargo still pays the full income. It also lowers the delivery rating, and that rating can cap how fast the town turns deliveries into a higher level.
- Clearing a forest or shifting a hill for a large site hurts reputation. Planting trees is one published way to recover reputation lost by removing trees. Reputation can also recover over time.
- Adding vehicles because a platform looks busy raises upkeep even when the extra vehicle mostly waits.
- Non-cosmetic mods, and gameplay settings moved off the standard values, generally turn achievements off.
A reliable order for a new map
Use this sequence in a free game with the economy left on. Sandbox can switch costs off, freeze cities, or hand you the Tycoon rank immediately. Those tools are for building and experiments. They are a poor way to learn which line actually pays, and changed gameplay settings generally disable achievements.
Look
Note climate, nearby industries, and which town sits closest to a second town. Four climate zones exist: temperate valleys, subarctic swamps, desert plains, and tropical islands. A cargo that is missing in one zone may be the point of another save.
Anchor
Place the headquarters with the nearest-city bonus in mind. Then build the smallest station and road or track that can carry a real flow, instead of a landmark yard you cannot fill.
Prove
Run the line long enough to see waiting time, on-time cargo, and whether the vehicles’ costs are covered. Open the relevant layer instead of guessing from the camera.
Branch
Add a second cargo or a longer passenger link only after the first town’s weakest rating is identifiable. The strategy and achievement guide lists the published goals that this kind of steady play also moves.
Guide library
Longer reading once the first line is running
These three pages go further into vehicles, money, and the habits that keep a network editable as towns change level.
Beginner guide and early tricks
What to build first, which trip is worth more experience, and the settings that keep achievements available.
Open the beginner guide
Supply chains and warehouses
Simple goods versus long chains, and why a full warehouse is a storage problem as well as an achievement target.
Open cargo transport
Vehicles, lines, and upkeep
When to replace a vehicle, when to keep an older one, and how a large fleet can win income and lose the company.
Open vehicle management
Quick answers
Questions players ask first
Check two things. First, are passengers mostly riding inside the same town? Those trips produce less experience than trips from another town. Second, open the six ratings and find the lowest one. A weak reputation, satisfaction, delivery, traffic, noise, or pollution score limits how much experience counts. The passenger and city guide walks through both checks.
Generally, no. The achievement list is unavailable when non-cosmetic mods are in use or when gameplay settings leave their standard values. Sandbox tools such as switching off all costs, freezing cities, or starting already at Tycoon rank are for creative play. Use a standard free game when you want the 41 listed achievements. Details are on the achievements page.
No. Transport Fever 3 is an independent fan-made informational website. It is not affiliated with, endorsed by, or officially connected to the game's developers, publishers, or Google Play. All trademarks belong to their respective owners. Guides only describe systems the developers or the game’s own achievement list have stated. Read more on the about page.