Guide library
Guides
Use this page to pick the guide that matches the decision in front of you: a first line, a railway corridor, a cargo chain, a city that stopped growing, or an achievement you want to understand. Every link stays on this site. Nothing here downloads the game or takes a payment.
How to use the library
Read the page that names your current bottleneck. Then come back and open the page that explains the side effect you just created.
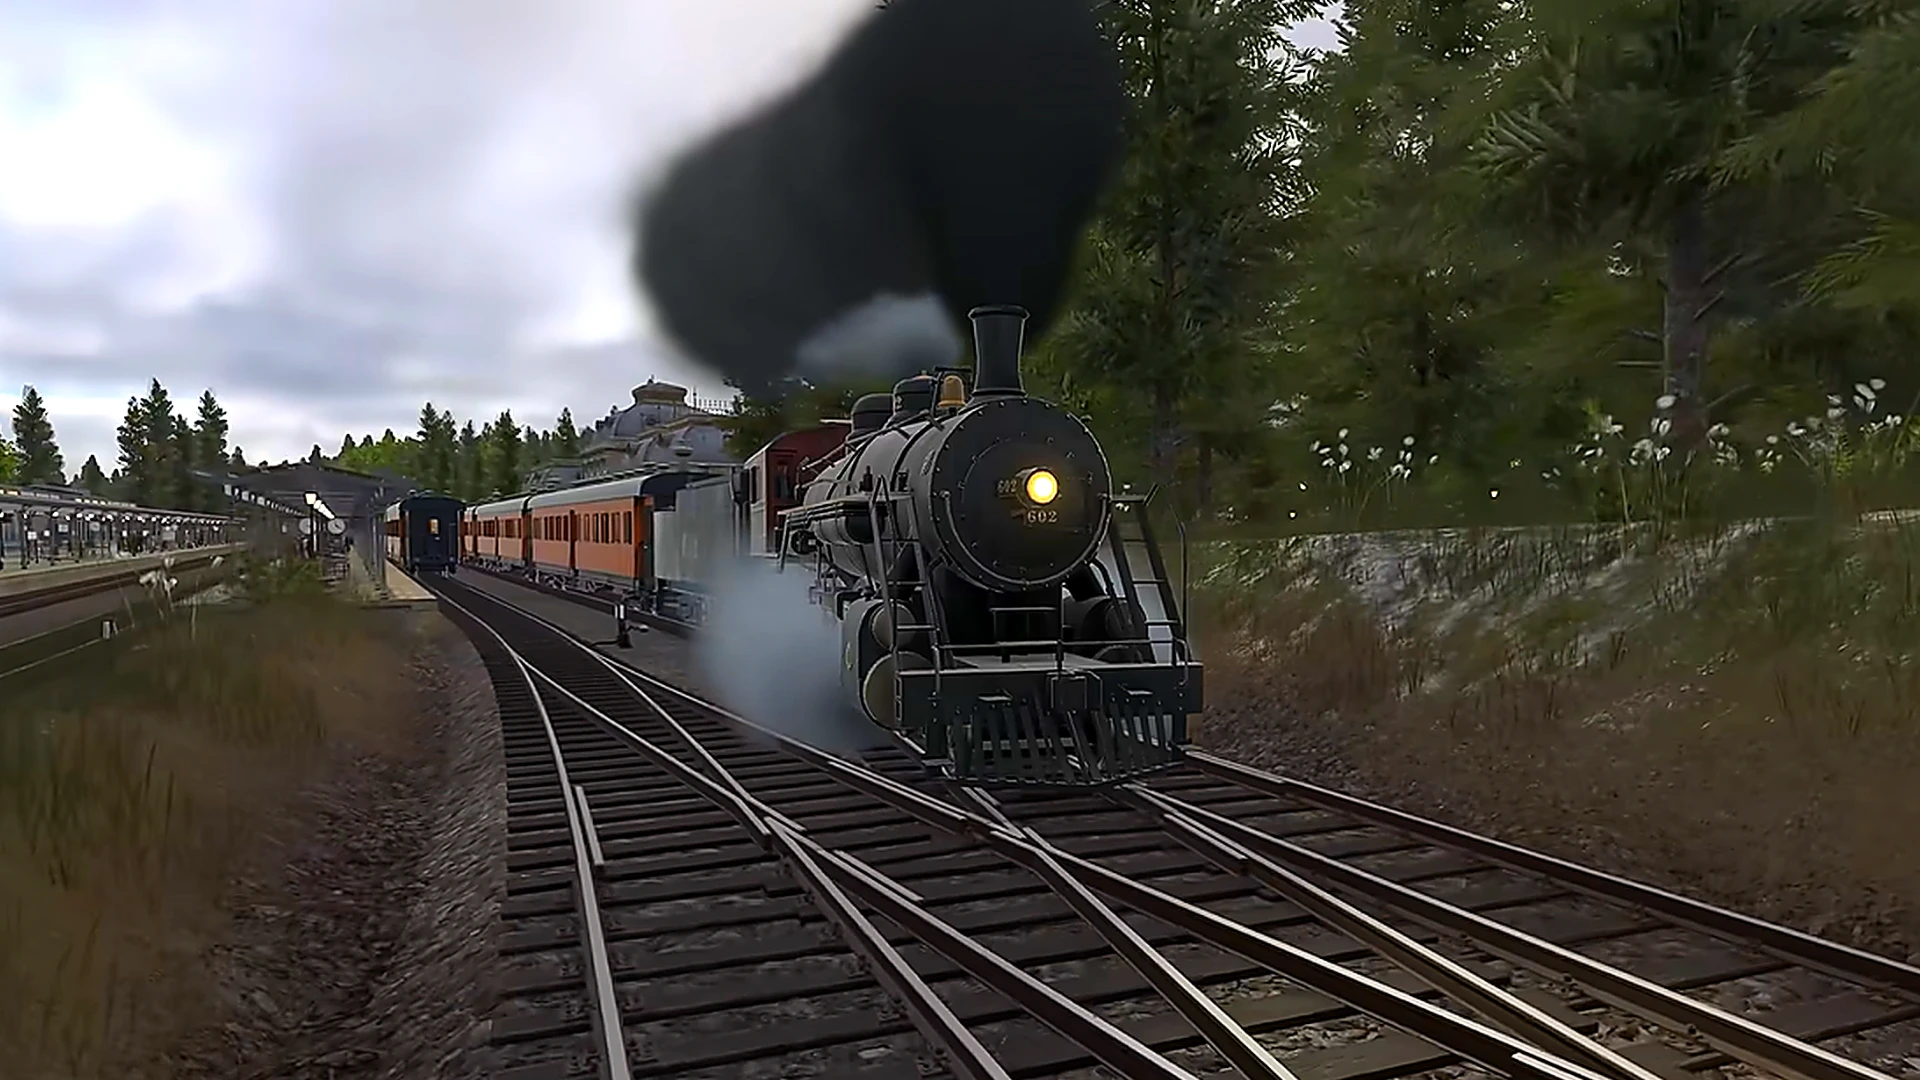
Transport Fever 3 is a transport company you build across roads, rails, sea lanes, and airways. The vehicle list runs to more than 300 vehicles and more than 120 years, from horse-drawn wagons, steam trains, and paddle steamers toward high-speed trains, large ships, jet aircraft, and helicopters. The guides do not invent stats for individual models. They explain the decisions that stay true while the models change: volume, travel time, upkeep, noise, and pollution.
A new player should start with the beginner guide. It covers the first headquarters, the difference between a local passenger trip and a longer one, and the settings that keep the 41 achievements available. If a town is already stuck, skip ahead to passenger transport and city development and find the lowest of the six ratings.
If money is the problem, the economy and route guide explains why a late shipment can still pay while damaging growth, and why a faster vehicle is not automatically the profitable one. If the map is full of half-used track, use the railway and station guide before you lay another main line.
Modes change what “winning” means. A free game with the economy on is the tycoon problem: rank rises with world population, from junior toward Tycoon. The campaign is eight missions built around historical transport problems, with stars and medals tracked separately from free-game achievements. Sandbox can turn every cost off, move time forward and backward, found cities, place industries, freeze growth, and start you at Tycoon with bonuses and landmarks available. Those tools are excellent for a diorama. They are the wrong classroom if you want to learn which route pays, and leaving standard gameplay settings generally disables achievements.
Core guides
Beginner guide
Gameplay basics, the first hour on a new map, tips that prevent early debt, and mistakes that stall the first town.
Passengers and cities
Local lines versus intercity lines, waiting time, residential noise, and how towns climb their 18 growth levels.
Railways and stations
When a corridor deserves rail, how stations fight noise, and how to leave room for a second track before the town doubles.
Guides for the next problem
Strategies, vehicles, and achievements
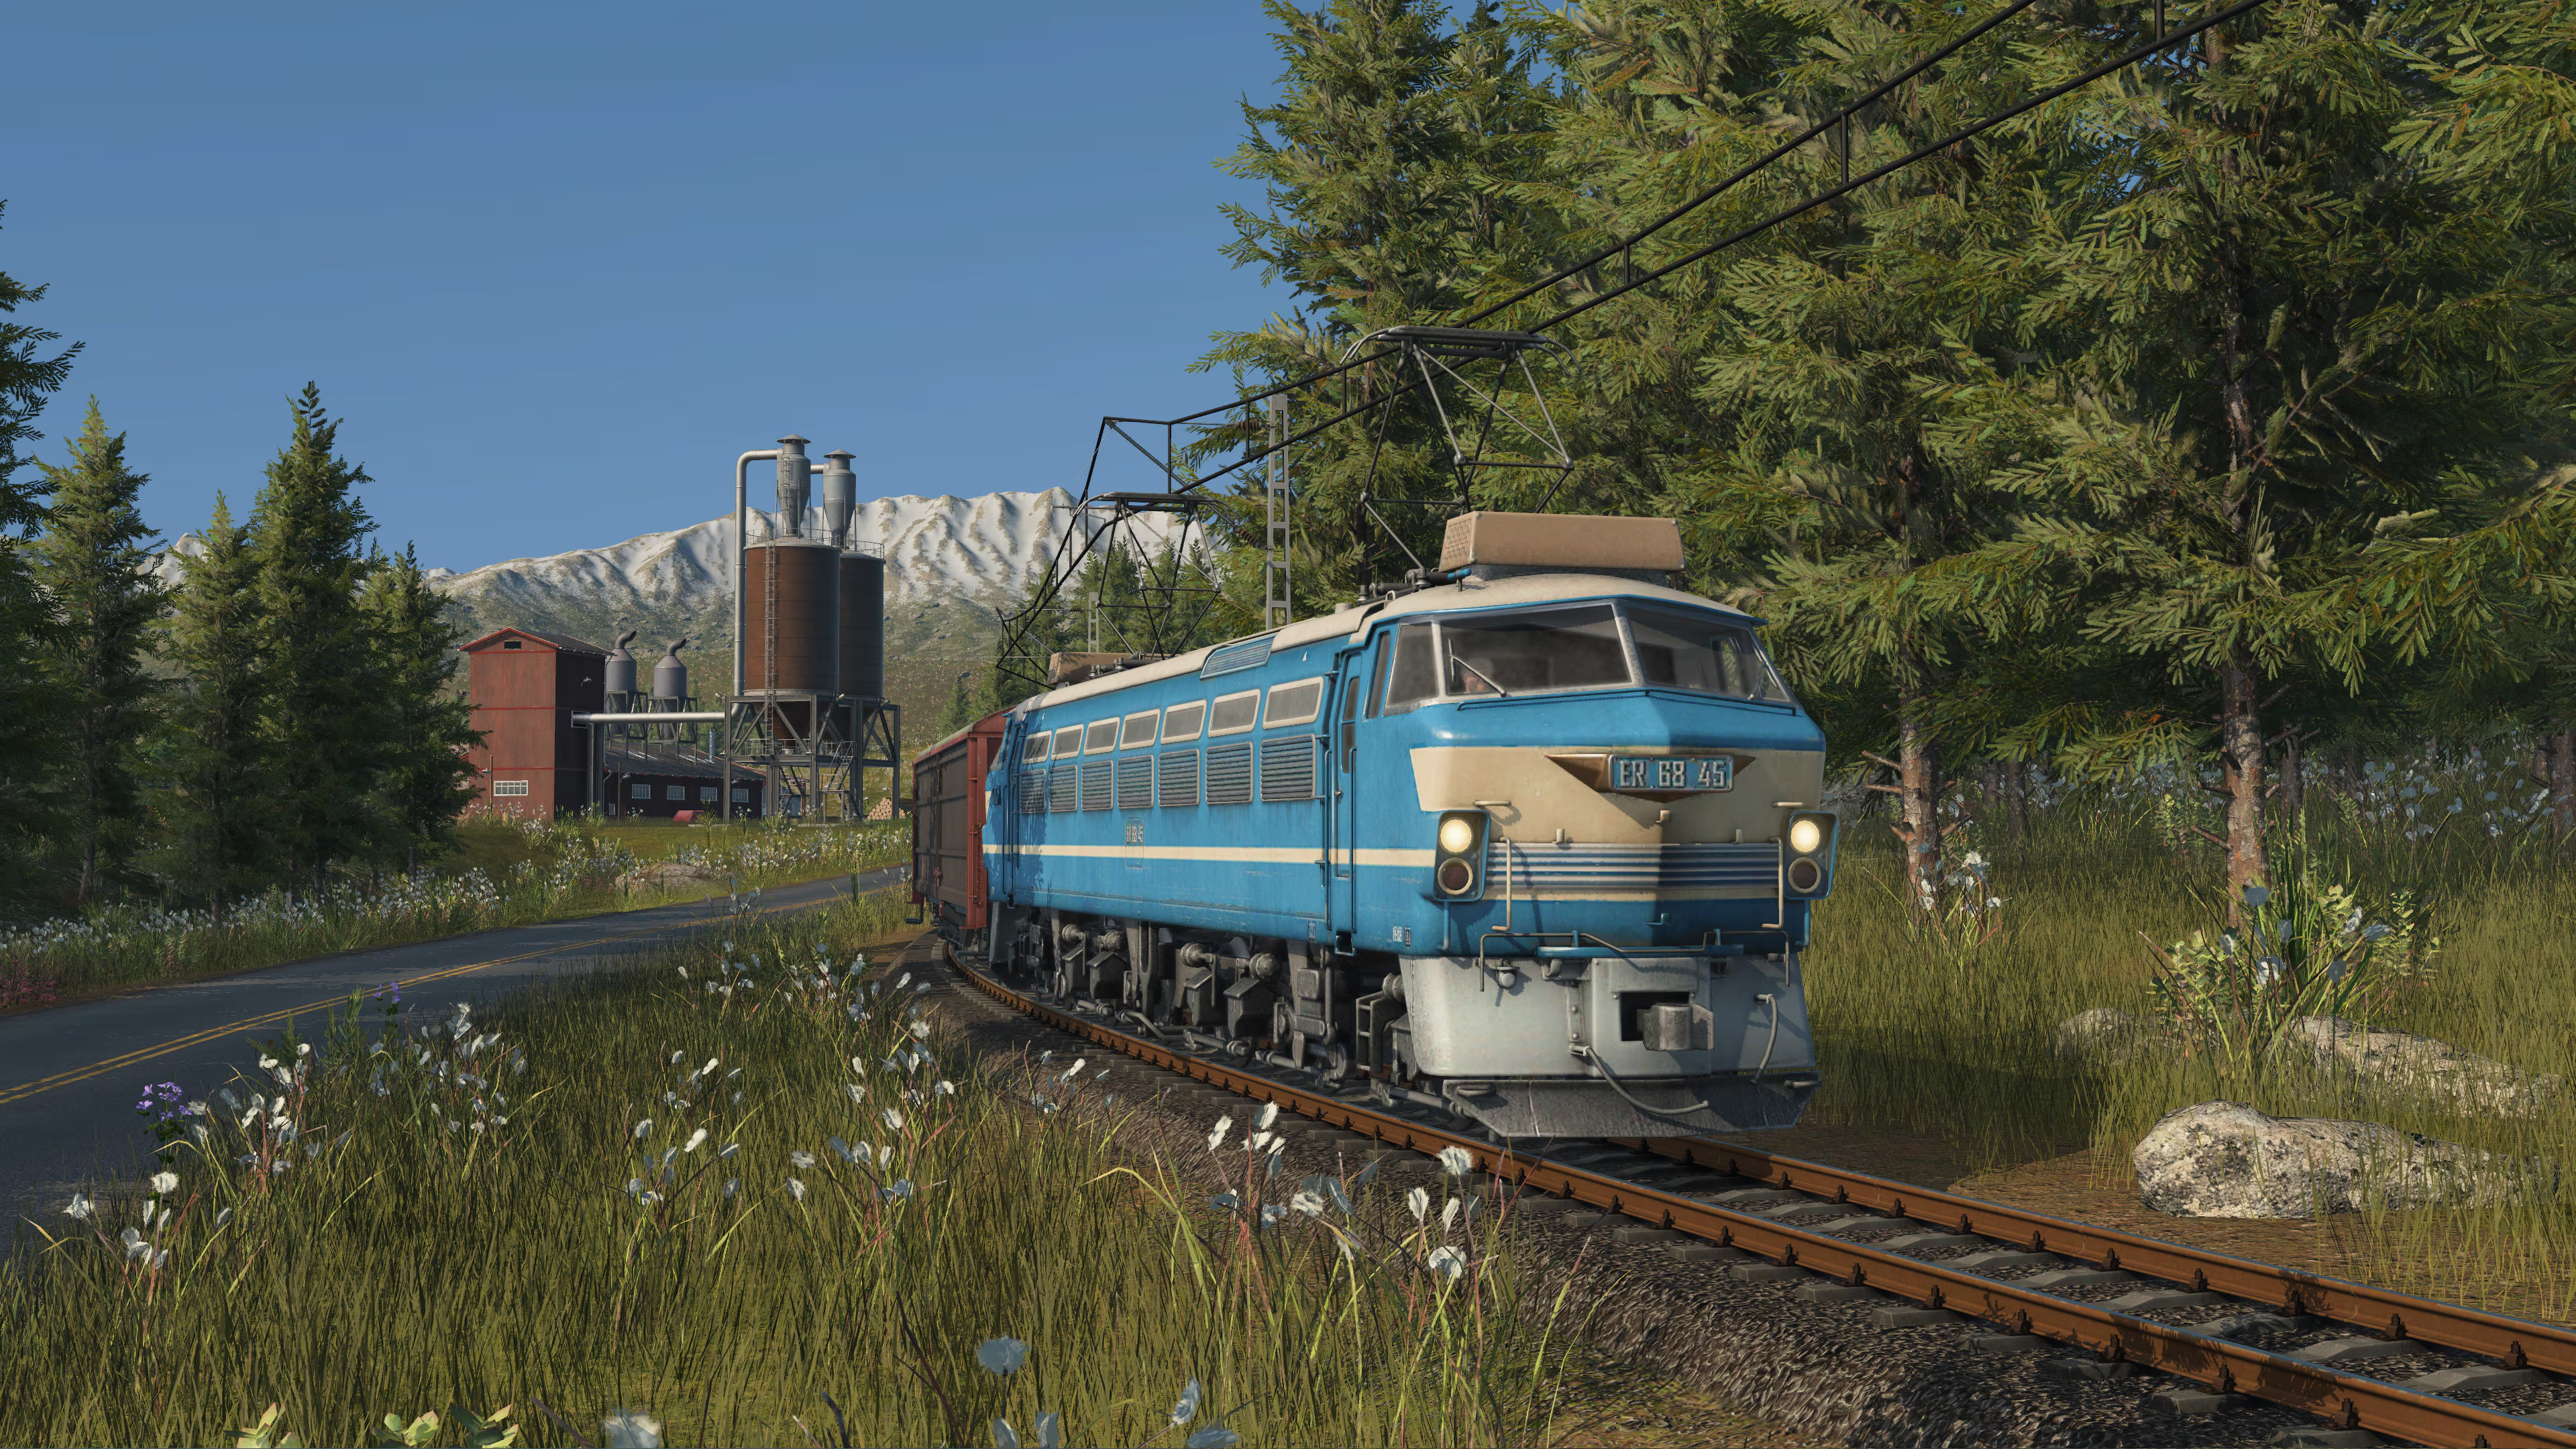
Fleet choices, advanced network habits, official achievement conditions, and player milestones that are goals you set yourself rather than unlocks the game awards.
Economy, profit, and route timing
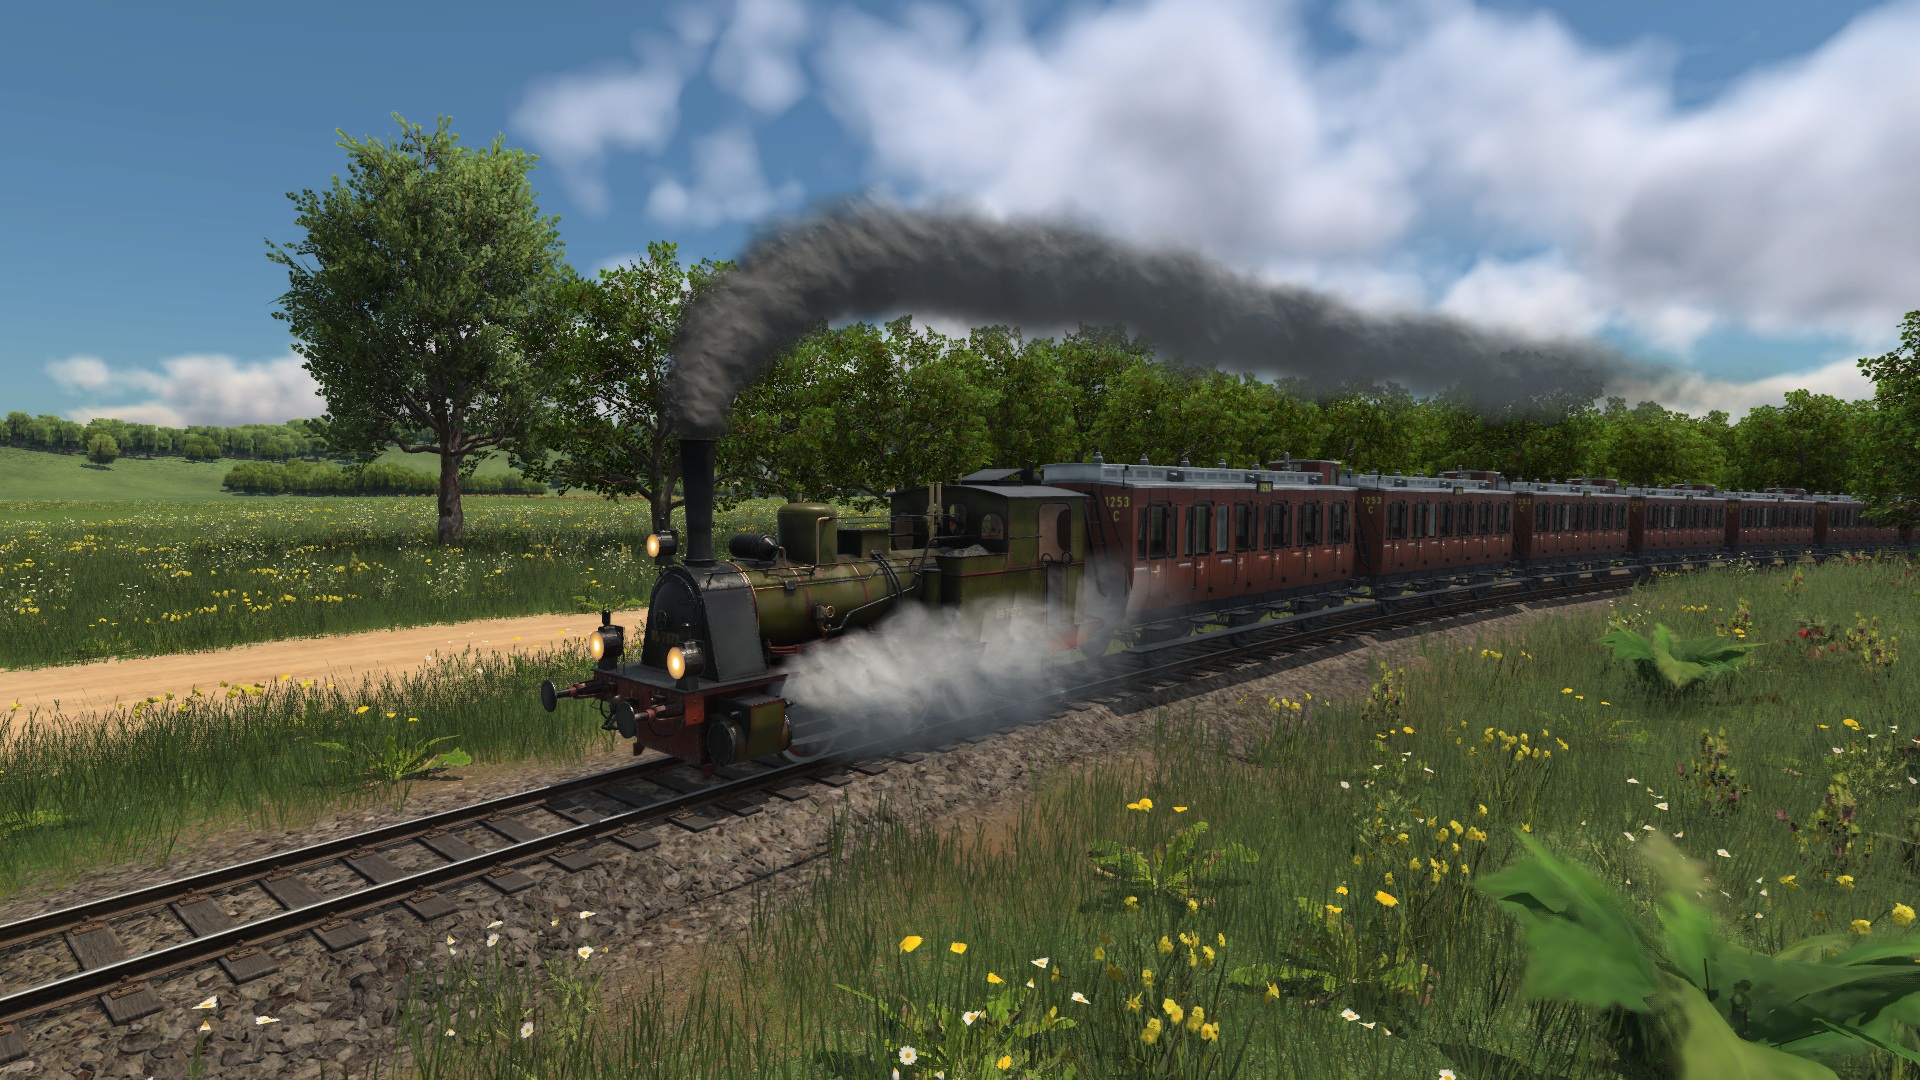
Upkeep, infrastructure cost, interest, food deadlines versus bulk goods, and how to shorten a route without dragging a station into a residential street.
Cargo transport and supply chains
Why a short chain fills a town quickly and a longer chain grows it faster per delivery, plus warehouses, offshore stops, and industry boosters as the achievement list describes them.
Transport network planning
Draw the flows before you buy the earthworks. A network that cannot be revised will fight you at the next town level.
Start with three questions written down, not with a tool selected. Which town should receive the headquarters bonus? Which second town or industry can be reached without crossing the first town’s residential streets? Which cargo is already demanded, and is it time-critical like food or tolerant like stone? If you cannot answer those, any line you build is a guess. The guess may earn money and still wreck a rating.
Separate through-traffic from local access. A high-capacity road or a railway that also serves as the town’s only street will become the traffic rating’s problem as soon as the population rises. Larger towns generate more private trips. The developers describe that directly: when the city sinks into traffic, the traffic rating falls, and the remedy is better infrastructure or public transport, not another freight truck in the same lane. Give freight a path that does not use the street in front of homes unless the volume is still tiny.
Leave a revision gap. Towns change demand as they level. New vehicle types appear as time moves, and industries change. The developer notes say there is no plan that works forever, and that you will revisit the network. A station jammed against a riverbank, with no room for a second platform or a bus loop, turns that revision into demolition. Demolishing and rebuilding the same station twice in a row is even an achievement, called Perfectionist, which is a joke at the expense of a habit you do not want as your normal method.
Example: two hamlets sit four minutes apart by a country road, with a quarry closer to the second hamlet and a town demand for stone. Do not run the stone trucks through hamlet one’s main street on the way to a station you placed beside the houses. Put a small freight stop on the quarry side of hamlet two, run stone there, and put the passenger stop where people can reach it without a long walk, even if that means the passenger stop and the freight stop are not the same building. You spend a little more infrastructure. You avoid teaching the traffic and noise ratings to hate the only line you own.
A planning sequence you can repeat
One: mark the municipal area, not just the streets. Pollution counts across that area, so “outside the houses” is not outside the score. Two: place the headquarters nearest the town you will feed. Three: choose one passenger relation that leaves the town and one cargo the town already wants. Four: build the cheapest infrastructure that can carry both without sharing a residential bottleneck. Five: run it, open the layers, and only then add vehicles or a second industry. Six: when a rating drops, fix that rating before you open a new region. Prospecting, marketing, and landmarks come later, with rank, and several of those measures are limited or have side effects. Spending one early, in the wrong municipal area, is hard to undo.
Beginners should plan one corridor. Advanced players plan the corridor plus the bypass they will need when the town crosses into a higher level and asks for another cargo type. The achievement Increased Demand is earned the first time you cause a town to want an additional cargo. That moment is also when an undersized station stops being “good enough.”
The same planning rules apply in every climate. Temperate valleys, subarctic swamps, desert plains, and tropical islands change what you can produce and how you cross the terrain. They do not change the fact that reputation falls when you clear forest or move large amounts of earth, including for an airport. If the terrain forces a big cut, budget the reputation hit and the tree planting that can give some of it back, instead of discovering the rating after the town has stalled.
Planning mistakes worth catching on paper
- One station trying to be the passenger hub, the freight yard, and the truck stop in a residential block.
- A headquarters dropped on the scenic hill instead of beside the town you will grow.
- Track or road with no room to double it when frequency rises.
- A freight path that is the same street residents use to reach work.
- Opening a second region while the first town’s lowest rating is still unexplained.
- Changing difficulty options away from standard values and then hunting achievements that the game has switched off.
What these guides will not pretend
If a number, vehicle, or unlock is not in the developer material or the achievement list, it is not stated here as fact.
You will not find invented ticket prices, made-up vehicle speeds, or a fake list of landmark bonuses. Landmarks do exist: there are 10, a finished landmark affects the municipal area where it stands, and the achievement Centralized asks you to build all 10 in one municipal area. Their individual effects are chosen in game. This site does not assign names or percentages that the public developer articles do not give.
You will also not find a download button, a store link, or a claim that a particular shop sells an official edition. Transport Fever 3 is an independent fan-made informational website. It is not affiliated with, endorsed by, or officially connected to the game's developers, publishers, or Google Play. All trademarks belong to their respective owners.
When a guide is unclear for your map, the gameplay FAQ answers shorter versions of the same questions, and the question form stores a note for the people who run this fan site. That note is not a message to the developers and it does not change your save.